Thursday, October 13, 2011

Guest Blogger - Better Together - Rose Bath Mat


Hi! I’m Angela from
Better Together.
I blog with my two sisters Whitney and Lauren. We created our blog to learn from each other and to help inspire each other to be a little better everyday. You can find a variety of topics over on our blog. We talk about everything from crafting and sewing to cooking and nutrition. We even offer fun exercise tips.

 
button3 copy

I am so excited to be here on Someday Crafts to share my new rose bath mat.

SONY DSC


Let me show you how to make your own rose bath mat. All of the skills needed to create this were learned in Kindergarten. Seriously, if you can cut and glue than you can make this rug. That is how easy it is to make. As far as materials go for creating this you will need a rug, an old T-Shirt, some felt or fleece, a hot glue gun, and some scissors.


SONY DSC

You are going to start by cutting your T-Shirt into 2-3 inch strips.


SONY DSC


Then you are going to cut out circles from the felt or fleece. You will cut them in various sizes depending on how big or small you want your flowers to be. Place your circles in the pattern that you would like on your rug. Originally I was going to have three large flowers and five smaller flowers spread across my rug. My husband wasn’t too sure about having a rug full of flowers, plus he was worried that the rug would loose some of its comfort. So we compromised, and I ended up only putting three large circles and three smaller circles on half of the rug. Now we each have our own side of the rug. I think the flowers are just as comfortable, if not more so than the original rug.

SONY DSC


Next you will make your flowers. Take your cut T-Shirt strips and start wrapping them around the circle. Once one T-Shirt strip has come to an end, just add another. Keep wrapping the strips around the circle until you have the desired flower effect. Now all the while you are doing this you want to be gluing the strips to your circle.

SONY DSC

Just keep making as many flowers as you want for your rug. Like I mentioned before, I went with three large flowers and three small flowers.
SONY DSC


Once all of your flowers have been created, then glue them onto the rug.

SONY DSC

I love the end result. It looks perfect in my bathroom!

SONY DSC


Thanks for taking a look at my new bath mat! Feel free to stop by our blog Better Together for some other fun creations, like this napkin skirt or my new cork clock.

DSC05419 SONY DSC


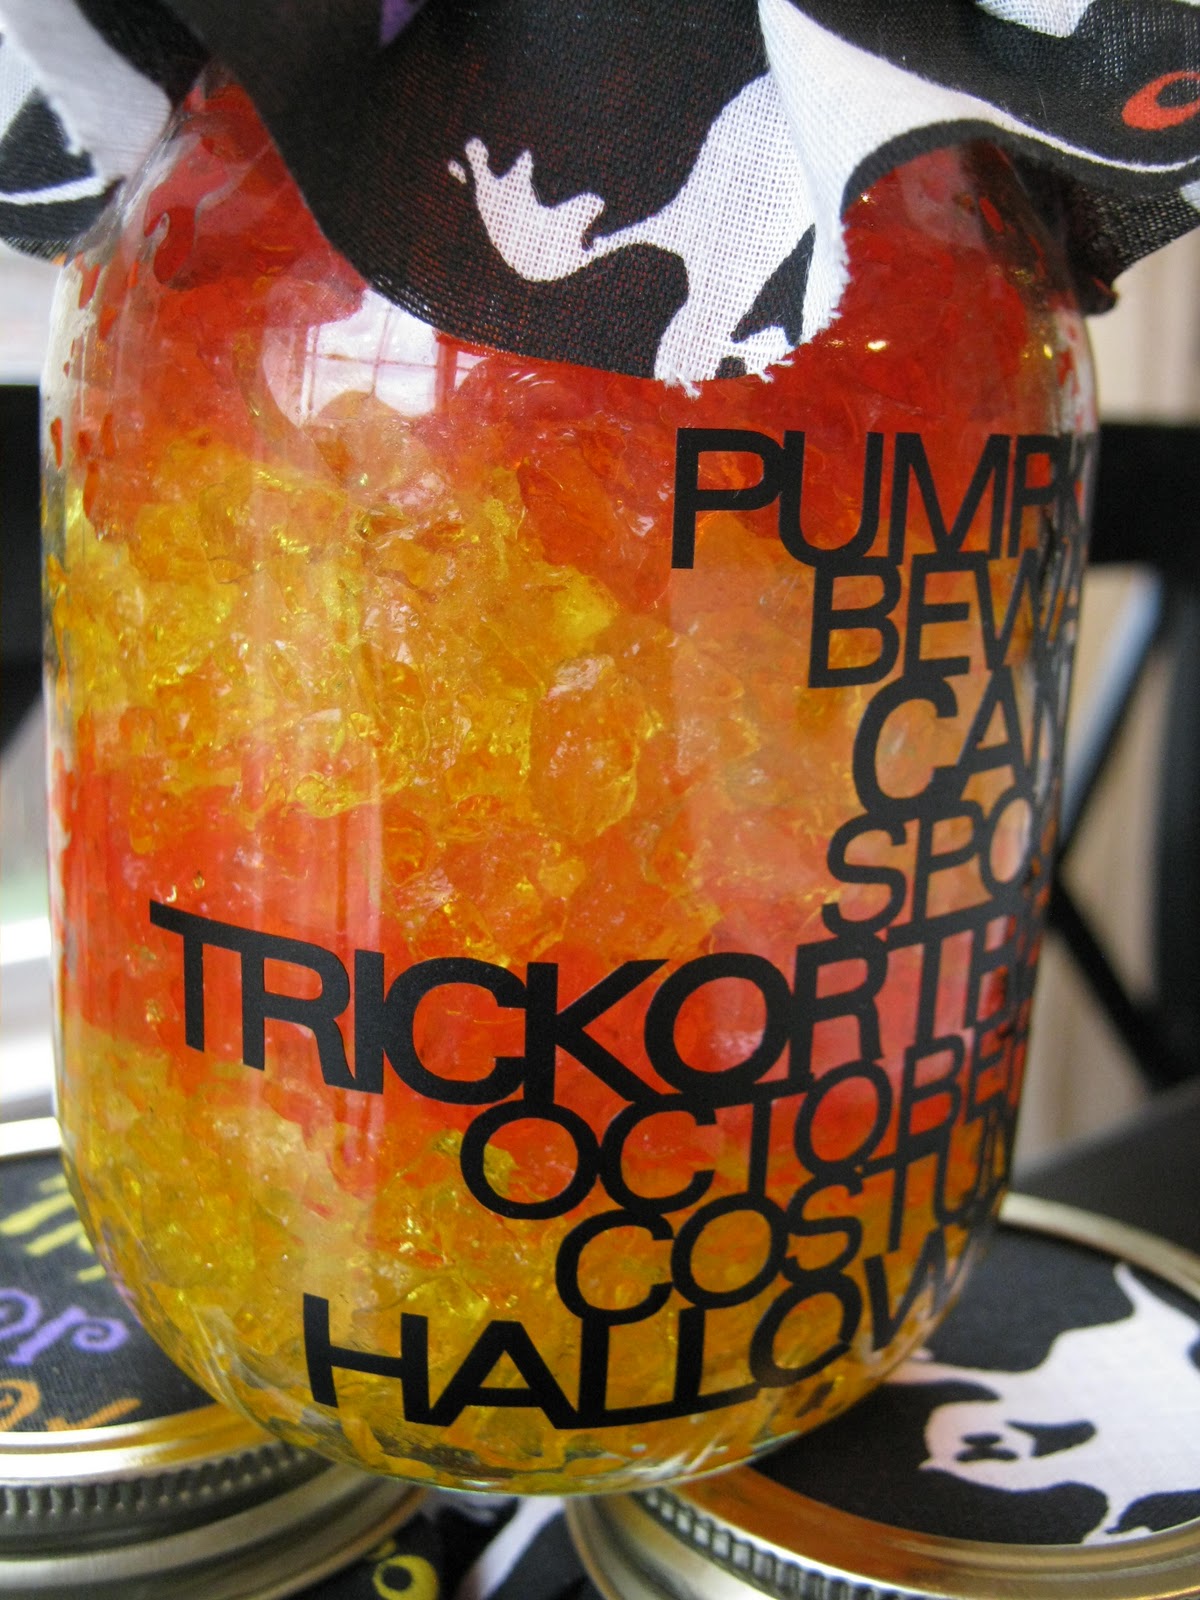
You can even check out our Facebook page. We are offer free printables every month and this month we are offering some free Halloween cake toppers.


halloween cake toppers2011


41D7BC788C40AFDD713E5833753FB8F5

THANKS, Angela.  I'm digging that bath mat.  It is so beautiful and that bathroom of yours is to die for.  Love the exposed brick and clawfoot tub!  The mat is the perfect addition to a gorgeous bathroom.   Visit Better Together today and say HI!!!!

Giveaway Directory #77


<center><a href="http://somedaycrafts.blogspot.com"><img src="http://i1213.photobucket.com/albums/cc462/seventhirtythreeblog/Someday_Crafts/Giveaway_Directory-1.png"/></center></div>


Here is your best chance at FREE stuff on the web!!! Join these giveaways!!!!


The giveaway directory is a place to promote a giveaway on your blog of your "goods" (or even someone else's). Link up the giveaway.


If you are looking to win free "stuff," visit the other blogs and enter. It's that easy!!!! Some of these giveaways only have a few entries so your chance of winning is great!


I only leave this link open for 48hrs because giveaways are time sensitive. So if you are going to have a giveaway in the future and want to link it up on Someday Crafts, please plan it accordingly:)


Wednesday, October 12, 2011

Whatever Goes Wednesday #87


Welcome to this crazy day of linky love and blog exploration! I love to see what is new out there in blog land. Get started clicking away to view everyone's creations!


Please stick around and click on at few a links before leaving. Don't be a link-and-run blogger!


NEW SPONSOR
Photobucket
Dress up your shoes with some fabulous clips from ShoeClips.biz!


GIVEAWAY

Win a $25 gift certificate towards anything in a Thirty-One Gifts catalog from Consultant Shannah Coe.  Also, receive 10% off your purchase when you email her an order.


MOST VIEWED LINK LAST WEEK!
Turn an old book into a book of spells with Polish The Stars!


BLOG TIPS
This week's tip by Seven Thirty Three - A Creative Blog.


Learn how to make a slideshow of your post images for everyone to see.


CRAFTING FOR A CAUSE


Crafting for a Cause


The Crafting For A Cause this month involves sewing cloth/reusuable feminine pads for girls in third world countries who don't have any!!!! Can you imagine? Seriously, get involved in this one!!! Learn more at Ladybird Ln.


Let's start on HALLOWEEN this Friday!  Link up your favorite Halloween projects!!!

The link party for the theme FALL is still up and there are some VERY amazing projects already. There is more time to link and view your fall projects HERE.


You know what to do. Enter your project (up to 4 links), tip, idea, recipe, whatever. Visit others. Leave comments. PLEASE NO ETSY SHOPS! Come back again in the next few days more projects are added throughout the week. Let the fun begin! (Because blogging is not my full-time job, I will not be able to visit every link. I apologize.)


Tuesday, October 11, 2011

Chevron Painted Dresser

Turn a plain and boring thrift store dresser into something amazing with this tutorial on how to paint a pattern on furniture with Michaela Noelle Designs.   She chose the popular chevron pattern, but there are so many other things you can paint with a little tape and creativity.


Thirty-One Bags $25 Giveaway (And story about my vacation!)

As you may remember, I recently went on a trip to Louisiana.  For the most part, it was very enjoyable!  I ate a ton of great food and had fun with relatives!   There were a few things that put a damper on our trip and one of them happened to be my purse!   Yes, I am in need of a new purse because the one I have had for ages broke.  The strap died and I almost lost it.   

A few hours before our plane was to leave back to Utah, I couldn't find my purse with my photo ID!    It's a longer story than I care to tell, but we found it, rushed to the airport and made it home as planned.   BUT after that panicking experience and our little campout (our family of 5 spent a sleepless night on the hard floor of the Houston airport due to a lovely storm), I came to realize that quality BAGS are an important part of life!

In honor of my nerve-wracking experiences, I introduce Thirty-One Gifts.  Thirty-One Gifts is a direct sales company that provides people with bags, purses, baskets, organizational supplies and more!

A kind Thirty-One consultant named Shannah Coe let me go shopping in her virtual catalog to see how she could help make my life easier and less stressful.   I found A LOT of items I wanted and many that I needed.  Here are just a few!
How cute and feminine is this ruffle mini zipper pouch?   I want....3! 


This sleek and elite skirt purse looks so sophisticated.

You know what is cool about this fitted dark denim purse?  It is the same purse as the previous purse only swapped out with a different "skirt" for a more casual look.  Change the look of your purse with a few snaps!  I love creativity like that.   You don't have to keep emptying the contents of your purse.  You just change the outer shell!  
You are probably wondering what kind of "bag lady" I am.  Well, I am a crossover lady.  I need both hands free to chase the kiddos wherever we go.   This crossover bag rocks because it zips open at the bottom to free up more space for all our "necessities."   This would be MY bag/purse of choice!
Need some thermal totes for camping, picnics, school lunch or work?   Thirty-One carries a ton of different styles and fabrics.


Not only does Thirty-One Gifts carry bags, they offer great collapsible storage cube for home organization.  (Does that mean it will automatically organize my home or guarantee that my kids will put their toys in it?  If so, I need 50 of these!!!)

This basket would be great for a cute way to store magazines, mail, hand towels or toilet paper rolls.  It would definitely make my bathroom look more beautiful and function better.
 
I could go on and on!!!!!

Shannah is also very kind in letting YOU get in on shopping.   She is giving away a  $25 gift certificate
towards any item(s) from her catalog!  She is going to solve your bag problems too!  

 If you are like me, you never win anything.  So to all of us UNLUCKY people, she is offering
10% off to anyone who emails her with a purchase.  

Additionally, the current customer bonus is a $25 organizing utility tote for only $7 when a you spends $31 or more.

So, let's get shopping with Shannah and make our lives easier! 

Giveaway
To Enter: (leave a comment for each one)
1.  Visit Thirty-One Gifts and leave a comment here about how you would spend the $25.
2.  Blog, Tweet, or Facebook about this giveaway.

Winner to be announced next Tuesday.

Monday, October 10, 2011

Acorn Faces Line-up!

With all the acorns laying around on the ground, there are many fun projects to do.   I'm thinking this one from Creative Outlets of a Thrifty Minded Momma would be fun for kids and adults to do.  Plus, it is a great conversation piece and a very whimsical piece of decor.  Aren't the acorn faces great?  You've got to read what they are saying!!!


16canfabric-fabulousmake-skirt

16canfabric-fabulousmake-skirt

Guest Blogger - Teal and Lime - Quatrefoil Drum Lamp


Hi, I'm Jackie. I am so excited to be guest posting here today and so thankful Michelle took a chance on me! This is my first ever guest blog post, so I did my homework and came up with an amazing tutorial to share.
Introducing Teal & Lime

 
I am a happily married, working mother of two busy little boys. I decorate and blog in my spare time, or lack there of. I just can't help myself. My blog Teal & Lime is about creating a DIY modern home. I like to say, "my style is modern, my home is getting there one room at a time". I hope you will join in and see my home transform from builder basic to modern beauty. I love to DIY and share tutorials so you can DIY too.


Today I want to share a tutorial to turn a plain drum shade into a statement piece for less than $10. I made my own drum shade pendant for less than $75, but I wanted to dress it up a bit. I originally planned to stencil a design on the shade, but the fabric on the shade has a lot of texture and I was nervous about getting a crisp design with a stencil. I brainstormed a fabulous alternative to create a modern design with appliquéd fabric. I love, love, love the way this turned out. The pattern and color are so crisp.

 
Lampshade Applique


Here is how I did it:


Supplies:
  • Drum Shade (circumference at the top and bottom of the shade is the same)
  • Fabric (I used solid-color quilting cotton)
  • Fusible web
  • Mini Craft Iron (with a 50% off coupon you can get one for less than $20)
  • Sharp scissors
  • Clothespins
Step by step:

  1. Measure your shade height and circumference. If the shade has a binding at the top and bottom, measure the height from the inside edge of the bottom binding to the inside edge of the top binding.
  2. Using the measurements from Step 1, cut out a rectangle piece of fusible web.
  3. Create your design. Geometric designs work great for this project. I decided on a quatrefoil design, which I designed to fit evenly within the size of my rectangle. Learn more about how I chose my fabric and created my design.Hand Drawn Quatrefoil Design
  4. Trace your design onto the paper side of the fusible web. Tip: For a complicated design, shade in the areas to be cut away.Trace design onto fusible web
  5. Iron the fusible web onto the wrong side of your fabric.
  6. Trim fabric to same size as fusible web rectangle.
  7. Cut out your design to remove all the shaded areas. I also split my design into three sections to make it more manageable. Quatrefoil Applique Design
  8. "Dry fit" your design by lining up each section around the drum shade with the fusible web side against the shade. Use clips or clothespins to hold the fabric in place. Drum Shade Applique
  9. Starting with one section, peel the paper backing off the fusible webbing and repin the fabric to the shade. Line the fabric up very carefully.Preparing to applique a lampshade
  10. Use the mini craft iron on medium heat to fuse the fabric design to the lamp shade. Use light pressure and keep the iron moving to avoid denting or warping the lamp shade.Mini Craft Iron
The finished lampshade is beautiful! You would never know it didn't come this way. The thin cotton fabric fused so smoothly, it looks like part of the fabric on the shade.


Drum Shade Close Up

 
This lampshade is right at home in our breakfast nook where we eat all of our meals. The green coordinates with the bits of green in the chair back covers. I love the boldness of the light now!

Drum Shade Pendant Light

 
Want more fun tutorials and inspiration? Follow Teal & Lime on Facebook and check out these Teal & Lime favorites:

 
Turning tablecloths into slipcoversModern Milk and Cookies Party


Family Photo Gallery Wall

 
Thanks so much for having me Michelle!

THANK YOU, Jackie for that awesome tutorial.  I can think of many cool designs (or words) to put on lampshade using your tutorial.   I love the colors in your house!   Head over Teal & Lime and say hi!!!   She is a very talented gal and her blog is so clean and crisp!  It's beautiful!

Sunday, October 9, 2011

Guest Blogger - Ginger Snap Crafts - Halloween Smelly Jellies


Hi! I'm Ginger from Ginger Snap Crafts. This is me & my two daughters.
I've also got a fabulous husband & 3 handsome sons. My blog is full of fun, cute & easy ideas.
I Would love for you to drop by sometime! I'm so excited to be over here at Someday Crafts.
Michelle is one of my favorite bloggers, & it's a real treat to be here. Thanks, Michelle.


Speaking of treat! Halloween is almost here! Yeah! It's one of my favorite holidays.

Today I'm going to show you how to makes these Halloween inspired Smelly Jellies.
{Really these could be made for any holiday...Christmas is coming up, too!}


If you have never heard of a Smelly Jelly...you've been missing out!
They are super easy to make, & they smell so good!
You can just set the jars out or you can use the the jelly
in potpourri warmers for a stronger fragrance.


What you'll need: water crystals (You can find these on ebay for super cheap or try a local candle making supply company. When I lived in Ft. Worth, Texas I always got mine from Lone Star Candle Supply. Love them!), containers (I used mason jars.), water, fragrance oil and food coloring


I thought it would be fun to decorate my jars for Halloween. I cut out some spooky Halloween vinyl using my Silhouette & clip art. (If you don't have a have a vinyl cutter don't worry. You could use stickers or paint pens to decorate your jars. I've also just left them plain in the past. Either way will do.)


You'll fill your jar with about 12 oz. of water. Add 2 teaspoons of water crystals,
and then add 1 to 2 teaspoons of fragrance oil to your water.


Add food coloring. Then stir.
I always just use a popsicle stick to stir so I can just toss if out when I'm done.


Now set your jars aside for an hour or two.
The water crystals will absorb the water, fragrance & color & expand...they'll get huge.

Soon your jars will look like this! (In this one, I actually layered some of my water crystals after they expanded. I put stripes of orange & yellow. Thought it made it look like candy corn!)


Then you can just add a fun Halloween fabric cut in a circle on top with just the ring of your jar.

There you go some fun festive Halloween decorations that smell so good.


Hope you enjoy!
If you get a chance I'd love to have you drop by Ginger Snap Crafts.
Here's a few of my most popular post.
Family Wall


chore sticks
img_0263


jewelry organizer


I also have a popular link party on Wednesdays!
Would love for you to drop by sometime!


Thanks for having me over, Michelle!


Ginger has such great ideas - ALL the time.   Visit her rapidly growing blog, Ginger Snap Crafts to get some awesome ideas!