Hi Someday Crafts readers! I'm absolutely thrilled to be guest posting over here for Michelle while she's on bloggy maternity leave!

That's me - I'm Mel (short for Melissa) the Crafty Scientist, a twentysomething girl living in the VERY deep south and trying to finish up my Ph.D. and staying sane by crafting and being creative! I blog over at
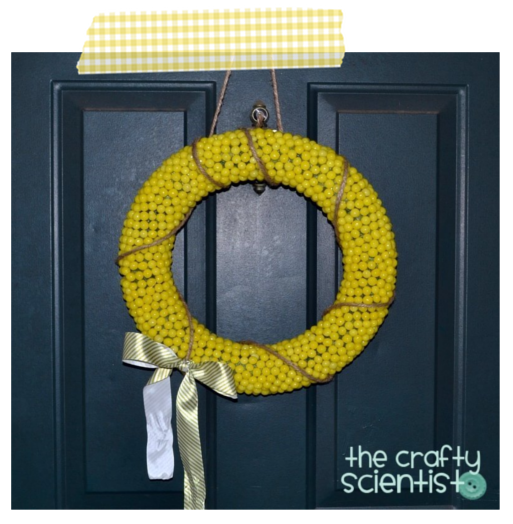
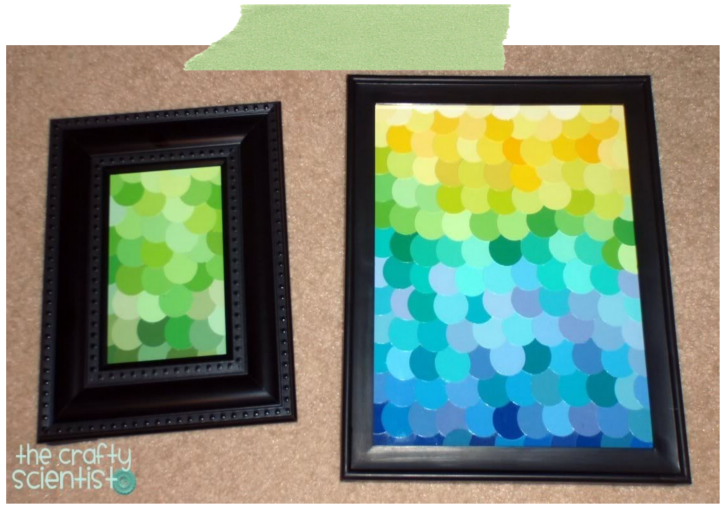
It is about all my creations, favorite things, photographs of my adventures, and collections of resources on a given theme (like making a blog button or taking pictures of fireworks). But mostly, you get to see how I make a variety of things like this Lemonhead candy wreath...
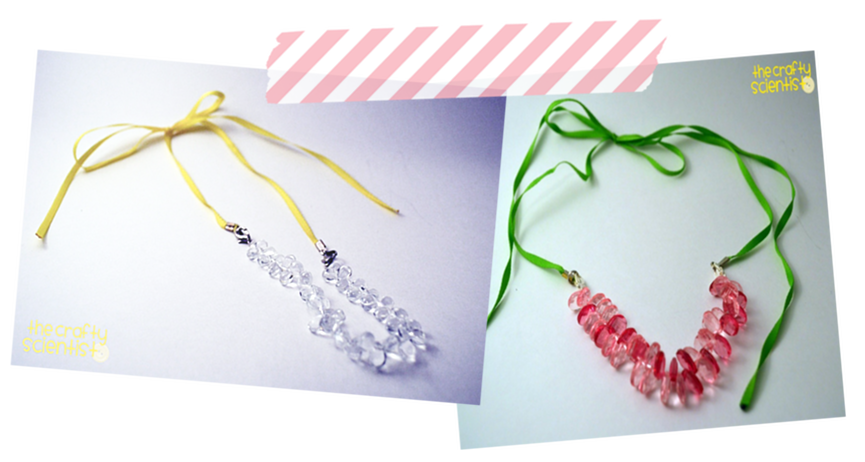
As well as these interchangeable ribbon and briolette necklaces (so you can change the ribbon to match your mood, outfit, direction the wind is blowing, whatever)...
Plus, I like to post pictures of my super-cute dogs - Max (on the left) and Bella!

Today, however, I'm going to share a tutorial for my favorite thing to make (and something I've given as a gift to pretty much everyone I know... and if you haven't gotten one yet, ummm, surprise and happy early birthday!) -
microbead pendants
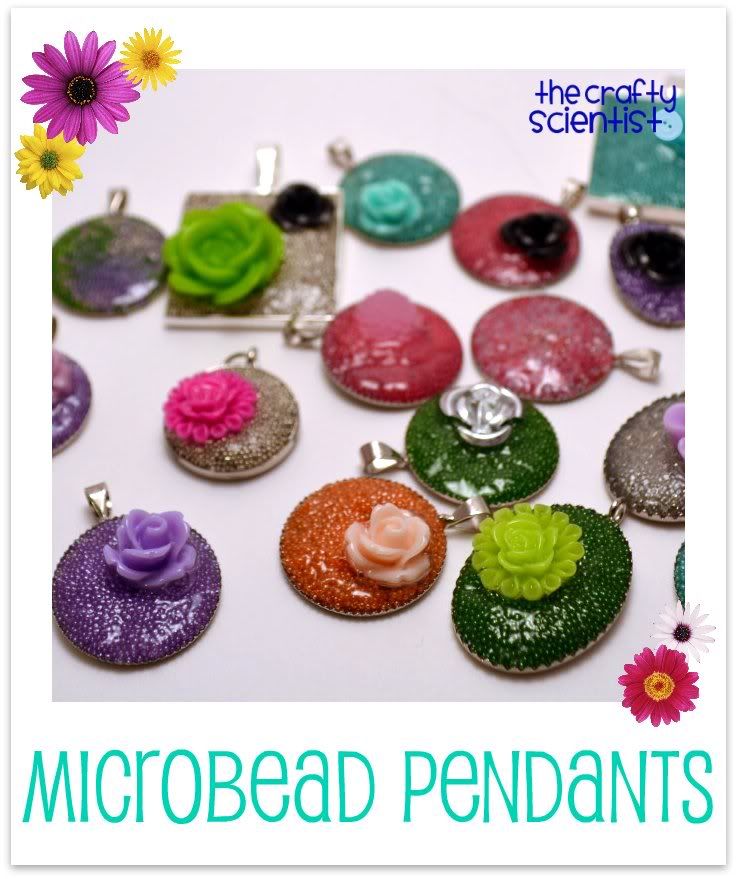
This project is super-easy - it might take some trial and error, but if I can do it, you can too! And once you get started, it's super-fun to start making them and see how they all turn out differently and imagine the different possibilities for them!

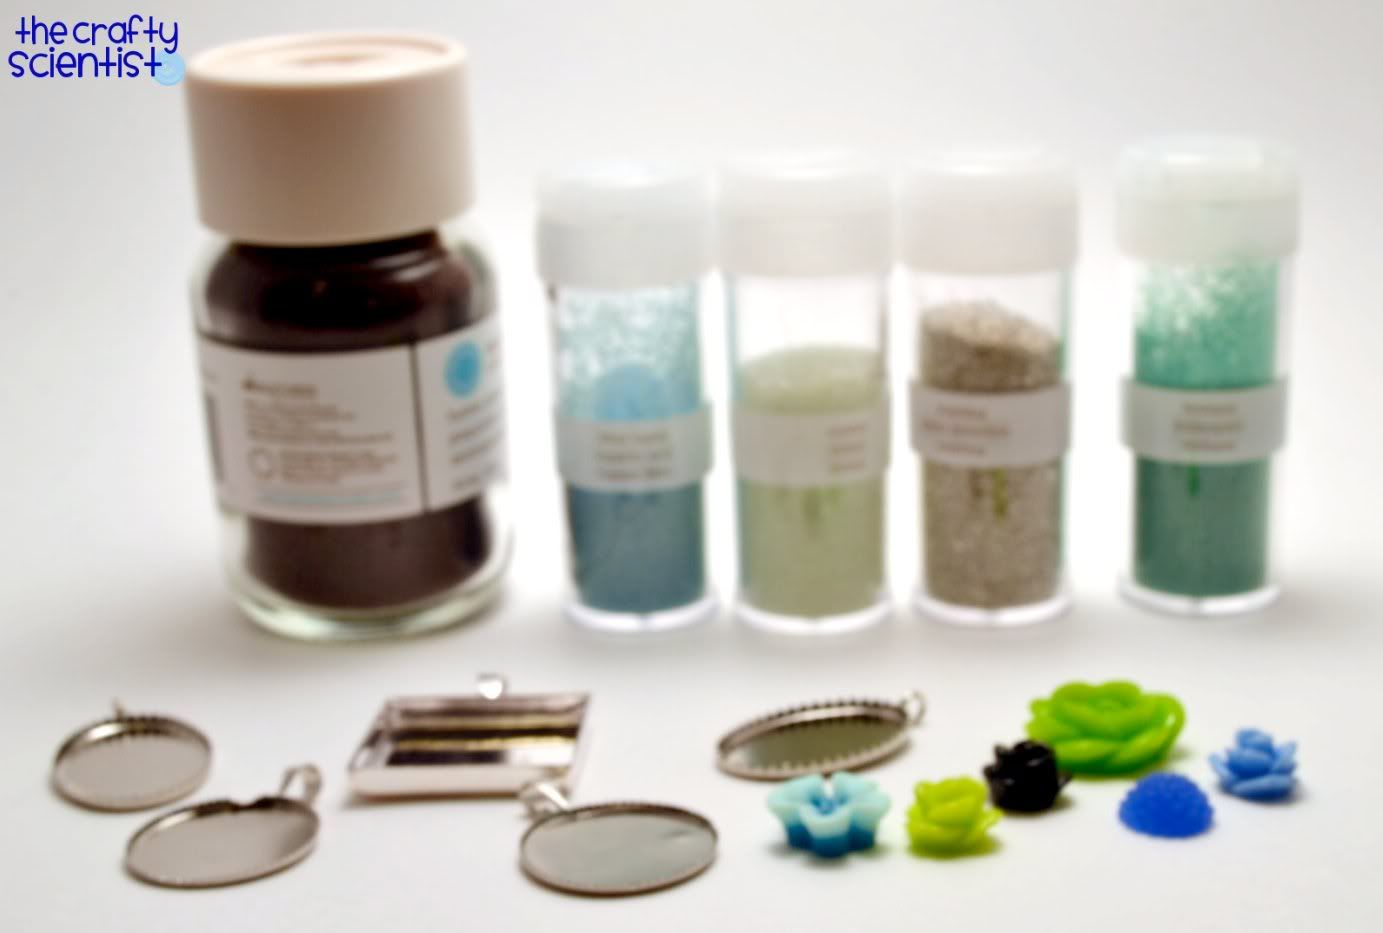
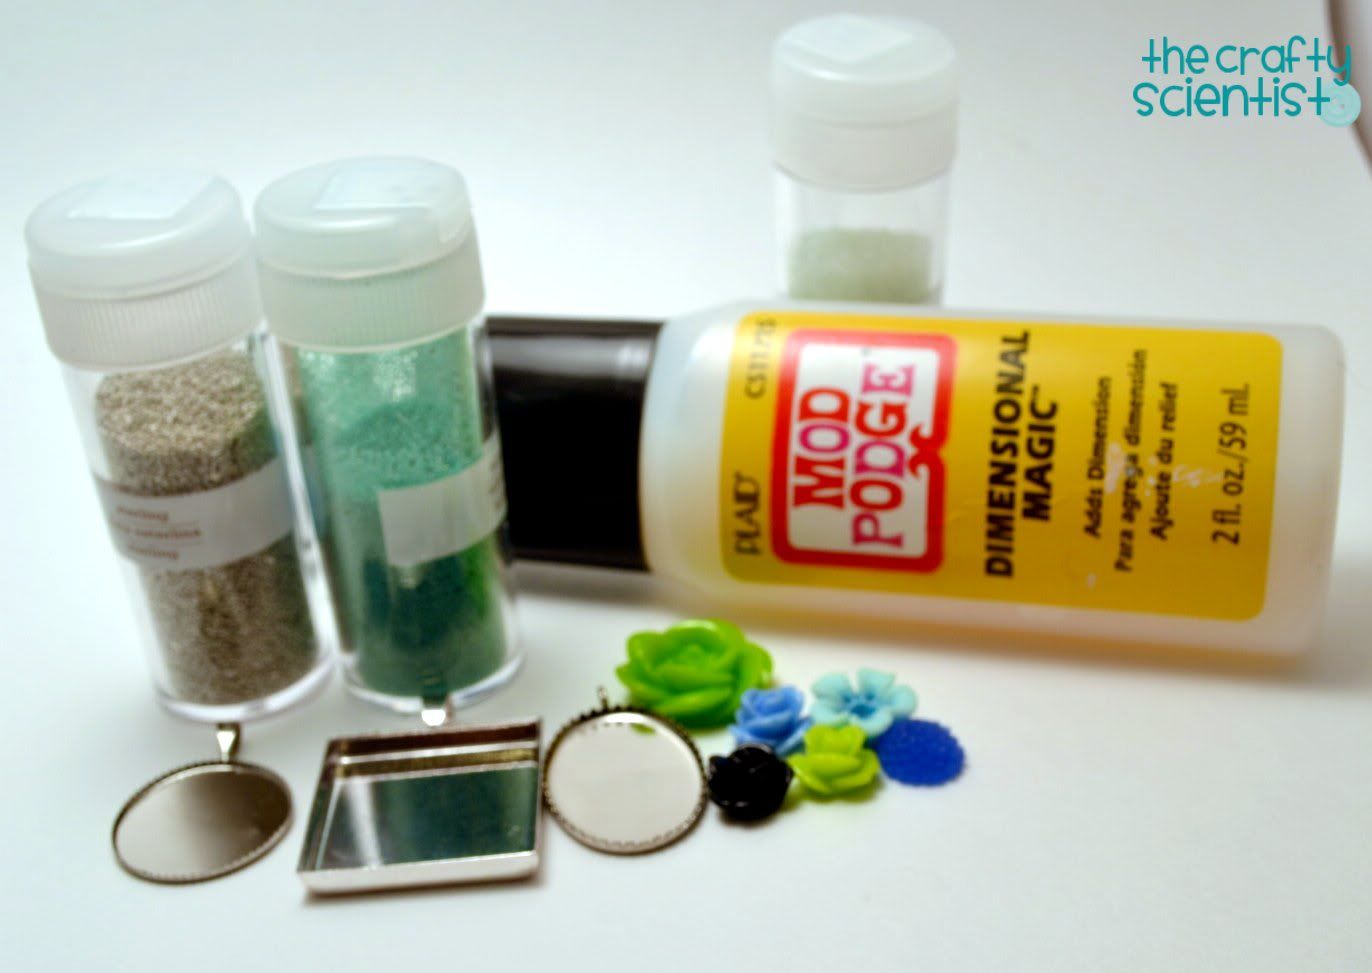
- Mod Podge Dimensional Magic
- Microbeads (mine are from Martha Stewart, but there appear to be some competitors in craft stores these days - check the scrapbook section!)
- Pendant blanks or wells with trays (you can find them on Etsy with about a 100 different names)
- Cabachons (or cabs, if desired)
- Straight pin or toothpick (turns out to be very helpful!)

First you want to pick out the color combination, the pendant size and shape you want to use, and any cabachons you want - it's good to have them all handy before you start pouring so you don't have to run around and search while you have a wet pendant which can easily be knocked off a table (I think - obviously I wouldn't have any experience with that)!
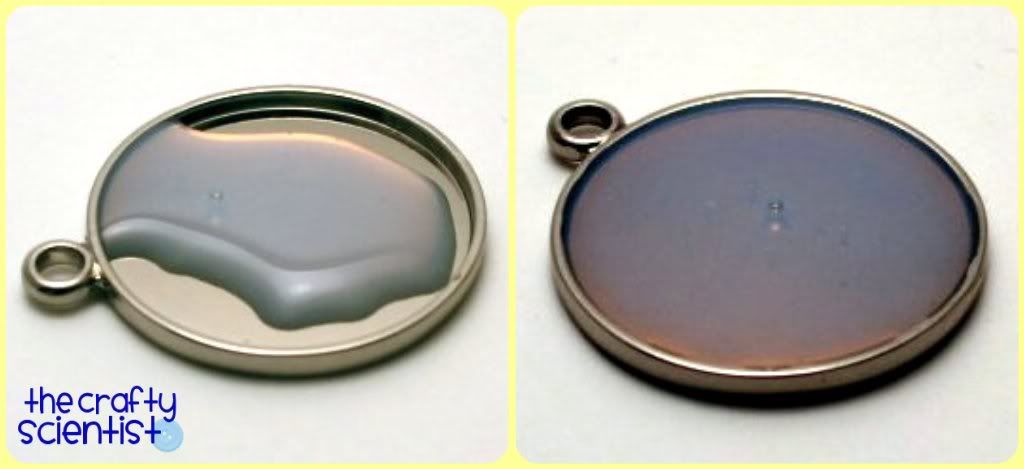
Then, you simply grab your pendant and fill it most of the way to the top with Mod Podge Dimensional Magic. You don't want the pendant to overflow or be quite at the top - this is something that comes with practice. You want to make sure that you don't have any bubbles in the Mod Podge and this is where you can use a straight pin or toothpick to pop them. If you have multiple bubbles, make sure to clean the pin/toothpick between them so you can cleanly pop all of them.
Then, grab your microbeads and pour. The color you add last will be on top when it dries so keep that in mind and feel free to go back and forth, alternating colors.
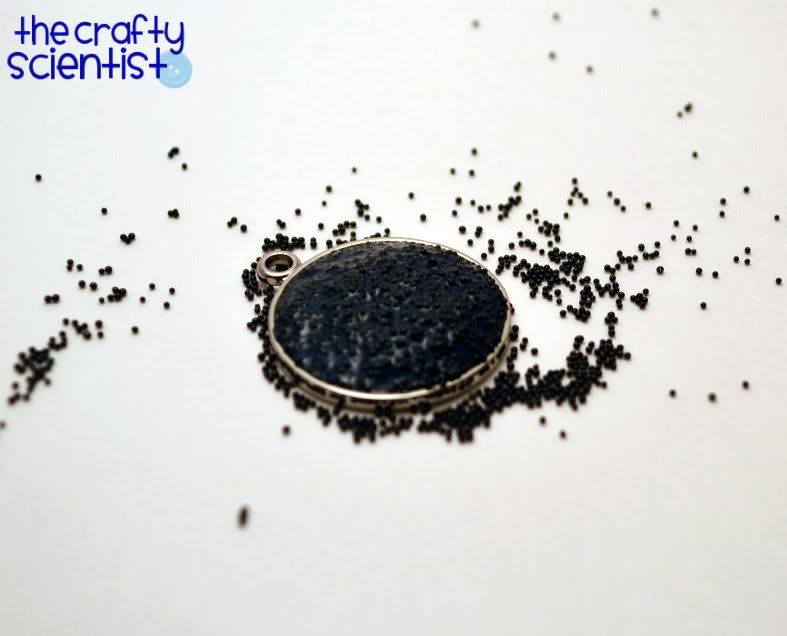
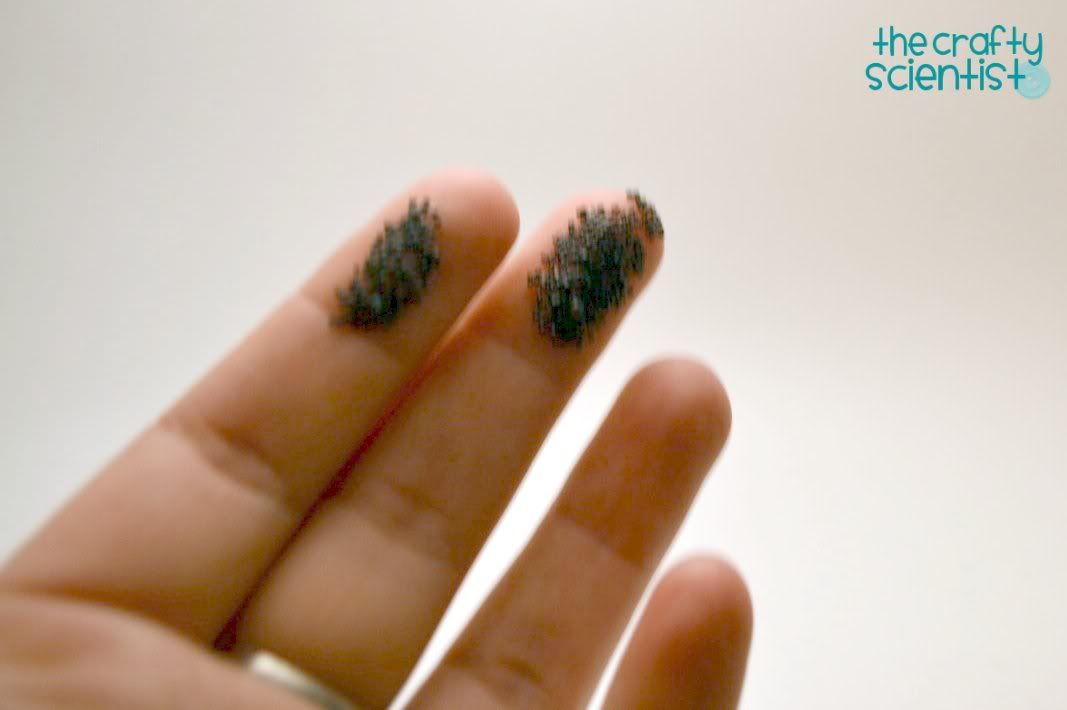
Sometimes I overpour and so I like to just smooth out the top with my finger... (I'm sure that's how Martha does it too.) You will end up with wasted, extras and don't worry about it. Get used to the idea you that you can't use/save all of them. It will make your life much easier.
Then, simply press in your cabachon and let the pendant dry. I like to leave mine overnight just to be safe. This is a pendant where I actually just left it at this point and didn't do anything else...
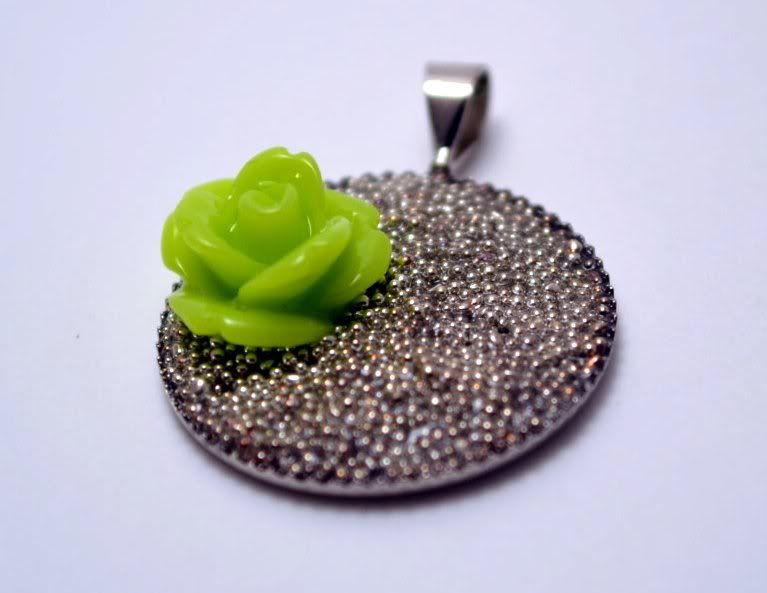
But you will probably want to come back and add another little layer of Mod Podge to the top of your pendant, working AROUND the cabachon. I like adding more Mod Podge because it all looks glossier and I think that added layer protects the pendant when you sweat, shower, swim, etc. But I'm not sure if it actually does anything other than make me feel better. I put the Mod Podge around the cabachon... unfortunately you can barely see it against the black microbeads here, but that's what the picture should show you!

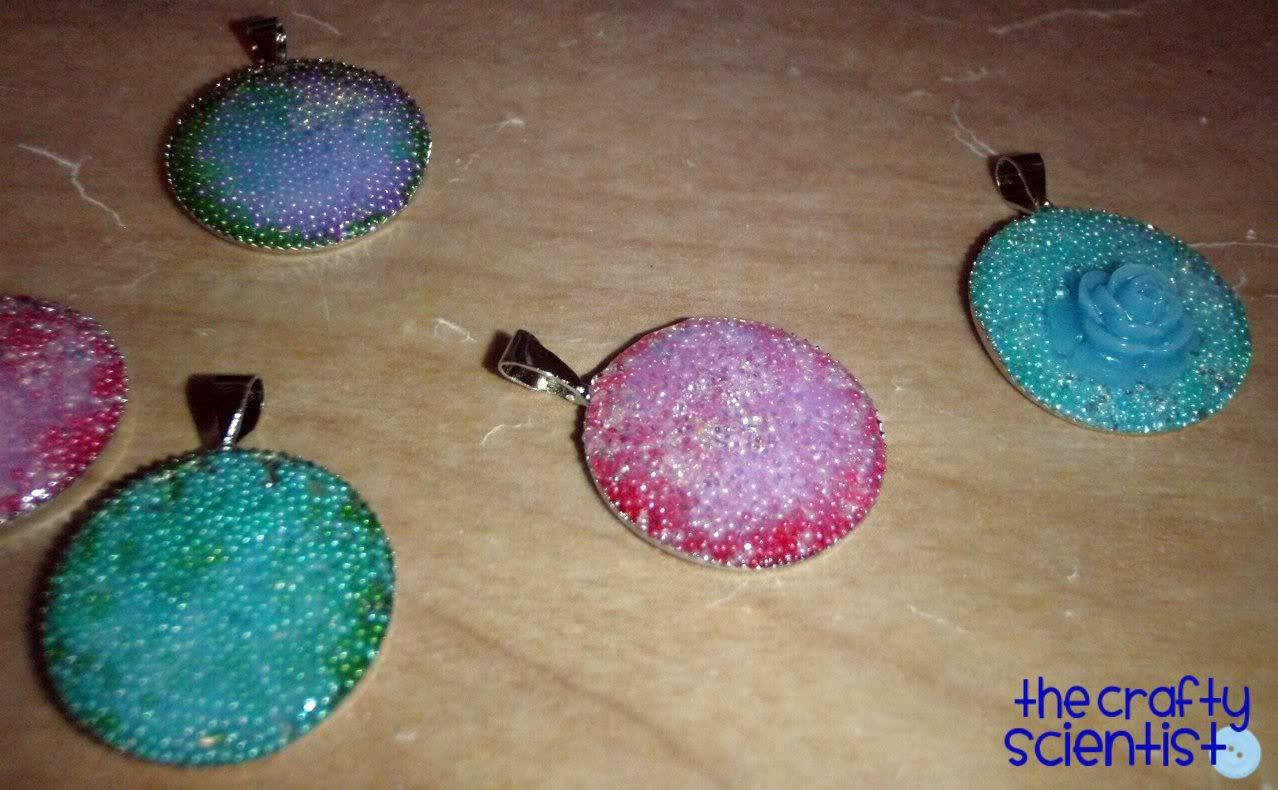
And just in case, here are some other pendants with the second coat of Mod Podge on it to show you a bit better...
I also experimented with placing the cabachon in first or before I put in microbeads and got really frustrated with trying to stick a straight pin in the petals to get the microbeads out of the crevices. (See the dedication to trying ridiculous things out that I do for my readers? Yup... I'm practically "Man v. Food" for the craft world... or "Mythbusters" maybe?)
But here's the final black microbead pendant with the blue cabochon in it with the second Mod Podge coat all dried.

These are a few of my other finished pendants...

And some round pendants...

The one with the clear microbeads might be my most favorite pendant that I've made so far.
You might have some little errors and don't worry about them - I don't think anyone can tell until you have giant photos where your camera is zoomed in really tight. But, to help you avoid the mistakes I made above, these are my top three tips to perfect pendants!
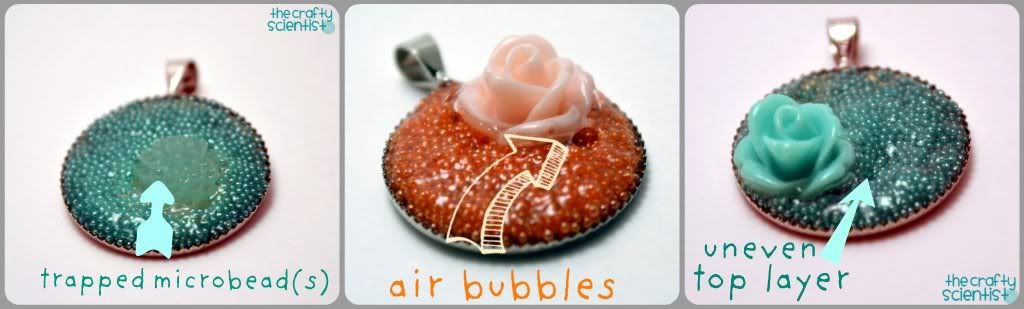
- I recommend putting the cabochon into the microbeads after all the microbeads are poured. You can also make pendants without any cabochons!
- To get rid of air bubbles, use a toothpick or straight pin to pop them while they're still wet.
- To fix uneven layers, you can pour another coat of mod podge on there (and maybe even more microbeads - I tried that and didn't really love the result, but who knows).
And the obligatory shot of me wearing the necklace (you know, the crazy flattering self-neck-and-shoulders-portrait)...

Now you're ready to make your own jewelry! And the awesome part is that once you have the microbeads and mod podge, you can get the pendant pieces fairly inexpensively and make gifts for people in no time at all! Good luck and please tell me how your pendants turn out (and visit me at The Crafty Scientist)!

THANKS, Mel! I found out that Mel is going to Clemson which is one of my favorite universities and towns in the entire world!!!! I love this idea. It's cute and simple! I might have a few microbead necklaces in my future!