
Most people will frame a pumpkin at this time of year. Not Honeybear Lane. She framed some witches hats and a black feather wreath! The witches hats are such a cute wall hanging, in front of the orange stripes. LOVE this idea.
 Use wood from an old pallet as your canvas for a nice piece of wall art! Young and Crafty did and it turned out great! Don't you love all the pallet projects around blogland lately?
 I've seen some very beautiful plate walls. However, I have never seen one like this one! I love how colorful and assymetrical it is. I also love the way it cascades down the wall. It definitely catches the eye. My Lil' Pumpkin shows this picture on her blog. Could you pull off a wall like this?
 Suzy's Artsy Crafty Sitcom is the queen of TP Roll projects! She created this gorgeous clock using tp rolls! I know, it is wickedly unique and creative! You've got to check out all her tp roll projects. (They are amazing!)
 This rope rug from Jame is so cool. Think of the possibilities with all those little rope circles! So many options for funky shapes rugs, table runners, wall art and more.
  There are so many uses for washers that you buy at the home improvement store. Add this washer monogram to the list. It's fabulous. I'll Get You My Pretties made some other interesting shapes and cool designs with washers for some great wall art.
(Found via Hyphen Interiors.)

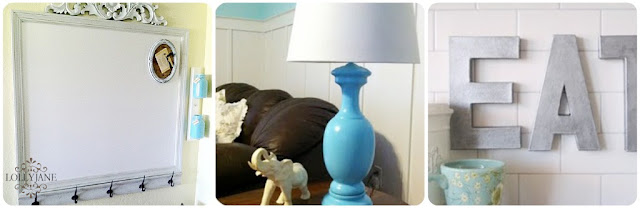


 Have you ever noticed how expensive corbel and decorative wood items are at the home improvement store? I think they are quite pricy! Not JUST A Housewife made her own out of a boardd (or MDF should work too) and they rock!!!!
  Sprik Space ALWAYS has amazing printables and downloads! This one is absolutely fabulous for so many reasons and occasions. Whether you have little kids, are celebrating back to school or just want some cool, colorful wall art, this alphabet Mosaic is too perfect to pass up. (I would have loved this on my classroom wall when I was teaching school.) It comes in four different sizes you can print.

I'm a new momma who loves my little family, crafting, and sharing my passions with others. I'm recently new to the blogging world and am having such a wonderful time learning from others and getting to share my new journey through mommahood and my crafting ventures!


Come visit me at little b and check out more of my life!!!
AMANDA, THANK YOU FOR THIS GREAT TUTORIAL!!! I love this idea and see so many possibilities. I love the thought of doing a couple different colored paintings of the same picture to match the color of my daughter's room and hanging them side-by-side! Darling.
Go give a shout out to Amanda at little b.
 There are several things I love about this wall frame display at Flamingo Toes. I love the pop of color, the spray painted, fancy frames and the handstitched furniture inside the frames. Handstitching would look great with any type of silhouette. It definitely is a conversation piece. You gotta check it out.


 There is more than one reason why Tidbits at the Tremaynes is one of my favorite blogs. She is hilarious and is constantly cranking out projects like this window bed! How is that for AMAZING!!!!!
 Combined two shirts into one to make this cutie at Inspiration and Realisation.
 There are so many amazing variations of sunburst mirrors. I'm loving this wood one from Thrifty and Chic.
 What do you get when you combine a circle skirt and a maxi skirt together? A circle maxi skirt like this one from Show Tell Share.
 Who wants a sliding barn door inside their house? ME!!!! See this beauty over at Breakfast for Dinner. Gorgeous!
 This wall mirror made of circles is for rockstars or princesses! Don't you love the shapes and the jewels and....everything about it? The bling makes it stand out and dazzle! It is made from cardboard and sequins! Check it out at MeiJo's Joy!
 I'm loving everything about this twirl bustle dress too from Wildflowers and Whimsy. It is SO CUTE!!!!! If you sew for young girls, you need to check this dress out!


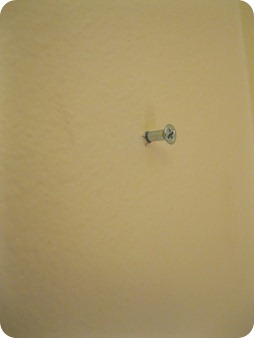
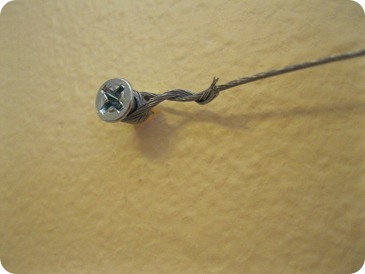


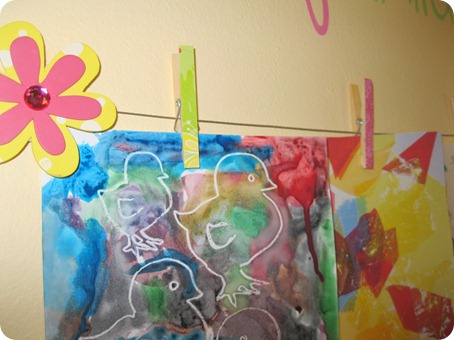



THANKS, Briana. I love easy knock-offs and this was certainly an easy, cute idea. I have the same situation with artwork EVERYWHERE. I need to get the picture wire out and hang some pictures! I lover your subway art flower pot! Looks like we all need to be hanging out at Sweet Peas & Bumblebees!


